

Problem
After updating my MacBook macOS Big Sur to version 11.6.5, I was getting the below NS_ERROR_FAILURE error while trying to launch the Windows virtual machine on VirtualBox 6.1. I was unable to launch the virtual machine. I got the same error after updating macOS Big Sur to version 11.6.8 as well.
Errors
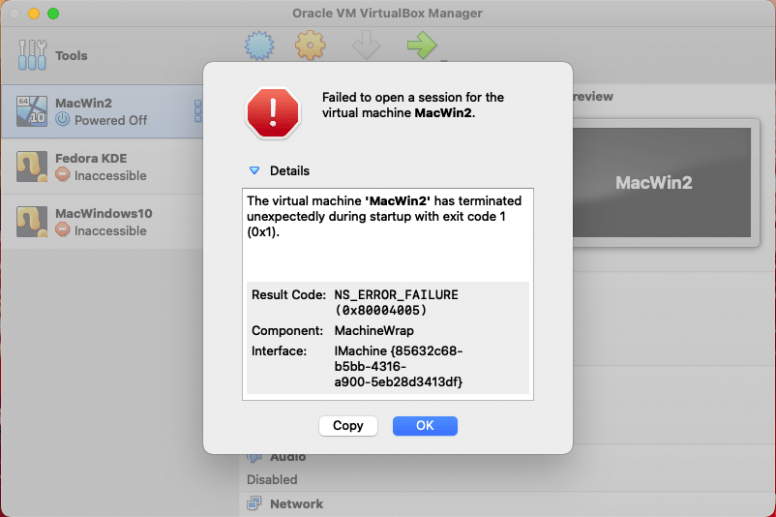
Failed to open a session for the virtual machine MacWin2.
The virtual machine ‘MacWin2’ has terminated unexpectedly during startup with exit code 1 (0x1).
Result Code: NS_ERROR_FAILURE (0x80004005)
Component: MachineWrap
Interface: IMachine {85632c68-b5bb-4316-a900-5eb28d3413df}
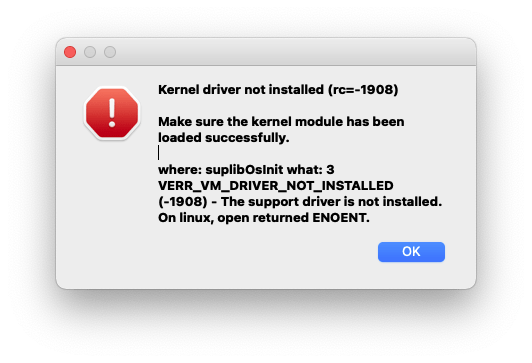
At the same time another error window appeared with the below error:
Kernel driver not installed (rc=-1908)
Make sure the kernel module has been loaded successfully.
where: suplibOsInit what: 3 VERR_VM_DRIVER_NOT_INSTALLED (-1908) – The support driver is not installed. On linux, open returned ENOENT.
Solution 1: (Restart The Mac)
Before thinking too much, make sure you have restarted your Mac after completing the OS update.
In my case, after updating the OS, even before restarting my Mac, I tried to launch the virtual machine and got the errors. After restarting the Mac, the errors vanished. So, before trying anything dramatic, try restarting the Mac. If you are still getting the error, then try the below solutions one by one.
Solution 2: (Re-enable SIP)
The next thing to do is to check and make sure SIP (System Integrity Protection) is enabled. To check it, run this command in the terminal.
csrutil status
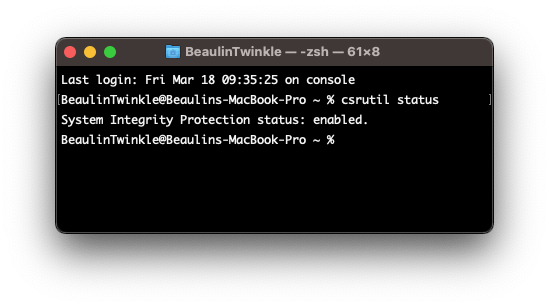
System Integrity Protection should be in enabled state. If it is in disabled state for some reason, then enable it by following these steps:
- Restart the Mac by holding the Command and R keys together.
- Leave the keys when the apple logo appears.
- In the recovery mode, go to the Utilities menu.
- Select Terminal.
- In the terminal window, run the below command to enable SIP and reboot the Mac.
csrutil enable && reboot
- Allow the mack to launch in normal mode.
- Launch terminal and run the command csrutil status and make sure SIS is enabled.
Solution 3: (Access Device Permission)
- Quit VirtualBox.
- In the Mac, launch the System Preferences.
- Go to Security & Privacy.
- Go to the Privacy tab.
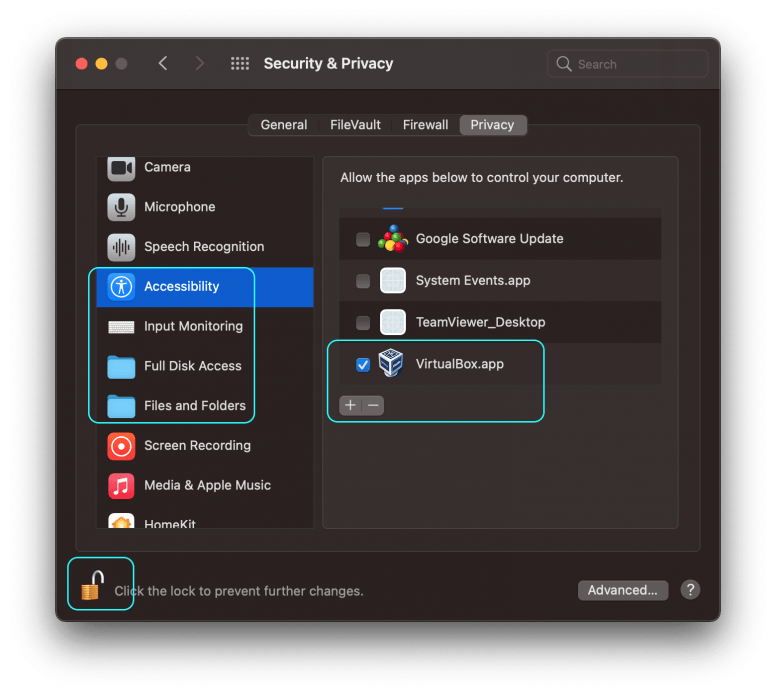
- Unlock the privacy screen to make changes by pressing the lock icon at the bottom left of the screen and provide your authentication.
- From the left panel, go through the permissions Accessibility, Input Monitoring, Full Disk Access, Files and Folders and make sure VirtualBox.app is listed under the allow list (right panel) and the checkbox is selected. If not then add it to the list using the + button and select the check boxes.
- Launch VirtualBox and the virtual machine.
If you are still getting the NS_ERROR_FAILURE (0x80004005) error, then try the below solution.
Solution 4: (Allow identified developer in Security & Privacy)
Usually this solution is needed when you get errors after installing VirtualBox. As we are discussing the errors obtained after updating macOS, this solution may be irrelevant. Still I’m adding this solution here, just to check the settings before moving to the next solution.
- Quit VirtualBox.
- Launch the System Preferences.
- Go to Security & Privacy >> General tab.
- In the General tab, Unlock the security and privacy screen to make changes by clicking on the lock icon at the bottom of the screen and provide your authentication.
- Under the Allow apps downloaded from section, make sure the App Store and identified developers option is selected.
- Keep the System Preferences screen open and launch the virtual box and then the virtual machine. If the errors appear again, check the System Preferences >> Security & Privacy >> General tab and see if there is a warning like System software from developer “Oracle America, Inc.” was blocked from loading along with an Allow button that appears below the App Store and identified developers option. If so, press the Allow button.
- Quit the VirtualBox and launch it again.
Solution 5: (Update VirtualBox)
If the above solution were not fixing the problem, then see if there is any update available for the VirtualBox and install the update if there is any. To update the VirtualBox to its latest version follow these steps:
- Launch VirtualBox.
- From the menu select VirtualBox >> Check for updates…
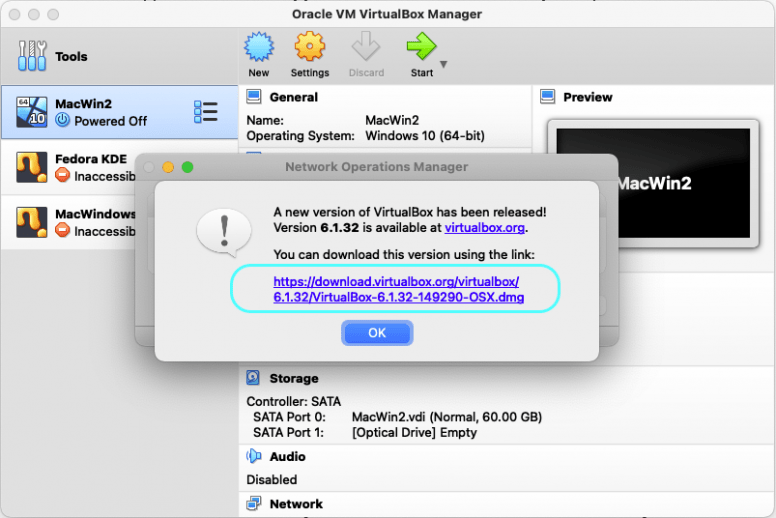
- A small screen will popup and check for any update.
- If there is any update available, another window will popup and display the available update and the link of the dmg file.
- Download the dmg and follow the installation process.
- Once installed, perform the steps listed in Solution 4 above.
Solution 6: (Re-install VirtualBox)
If none of the above solutions are not fixing the NS_ERROR_FAILURE (0x80004005) error, then uninstall the VirtualBox and re-install it again.
Uninstalling VirtualBox
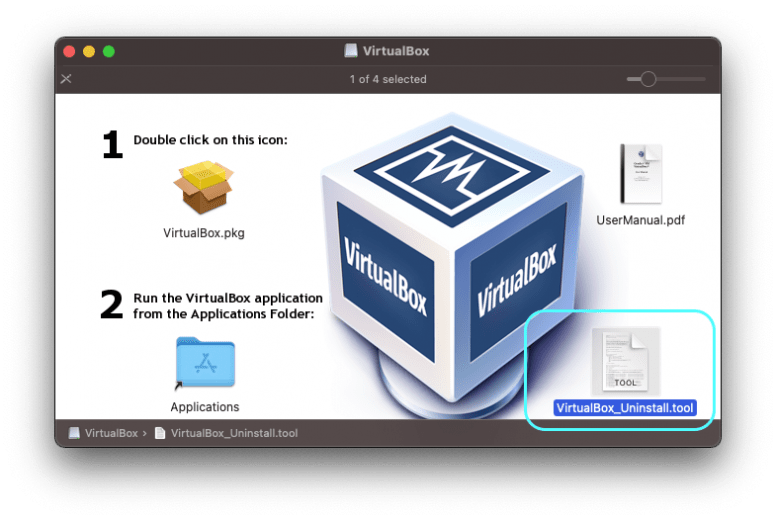
- To uninstall the VirtualBox, download the latest version from https://www.virtualbox.org/wiki/Downloads. Open the installation package. In the installation screen, you can see the uninstallation package VistualBox_Uninstall.tool at the bottom right corner.
- Right click VistualBox_Uninstall.tool and select Open with >> Terminal.
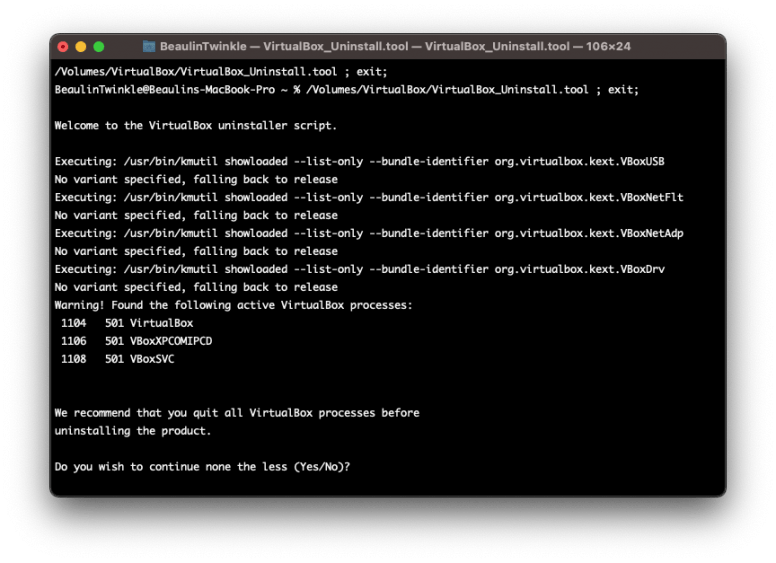
- In the terminal window, the uninstallation scripts will be opened and executed. Finally displays the list of VirtualBox programs installed in the Mac.
- Type Yes to confirm the installation process.
Clear existing permissions
- Restart the Mac in recovery mode by holding the Command and R keys together.
- Leave the keys when the apple logo appears.
- In the recovery mode, go to the Utilities menu.
- Select Terminal.
- In the terminal window, run the below command to clear all the existing permissions and then reboot the Mac.
csrutil clear
Instal VirtualBox
Finally install the fresh copy of the VirtualBox using the dmg file downloaded earlier. After installation, if needed, perform the steps mentioned in Solution 4 and then Solution 3 above.
Reference
- Details about NS_ERROR_FAILURE error at VirtualBox.org Forums.