
In earlier articles, we have seen about the setups required in VS Code for Python programming and the steps to install Python packages. Now we will see about linting of Python in VS Code. Linting is the processing of identifying problems in syntax or style of a program. For Python programming, there are several linters to automate the linting process. In this article we will see how to activate, install and use a popular linting tool PyLint on VS Code for linting python source code.
Activating Linter (PyLint)
To enable linting in the workspace:
- Open VS Code and open the workspace.
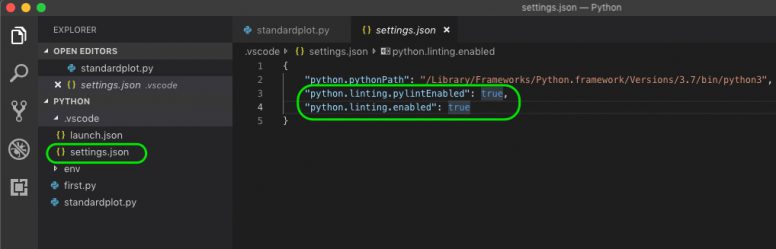
- Go to Explorer panel, under the workspace, under .vscode, select settings.json.
- Add this line of setting to the settings.json file.
"python.linting.enabled": true
- To enable PyLint add this line of setting.
"python.linting.pylintEnabled": true
Installing PyLint
- In VS Code Editor, open the Command Palette, by pressing Shift, Command and P keys.
- Search and start Terminal: Create New Integrated Terminal. The terminal panel will open at the bottom.
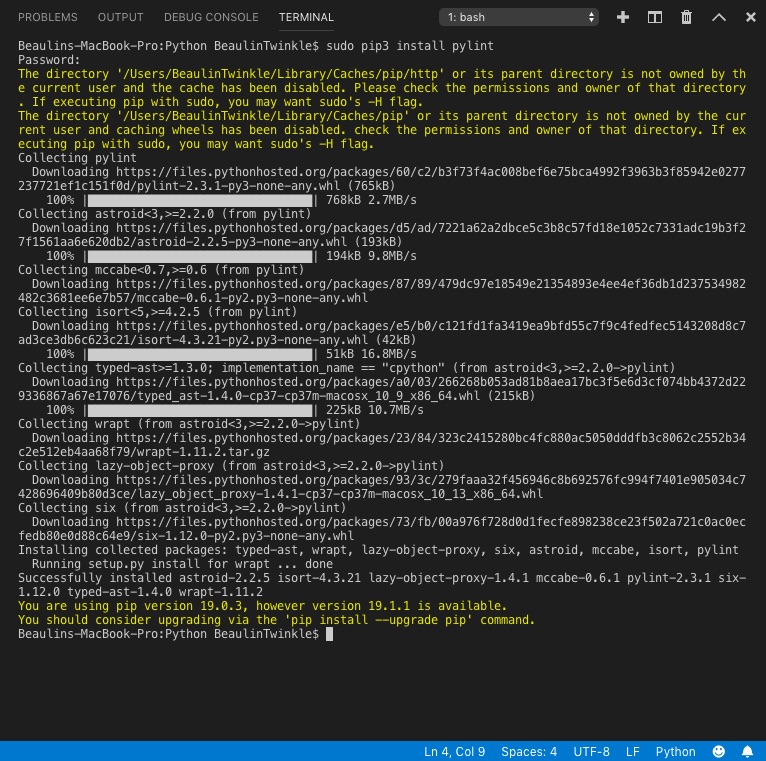
- In the terminal run this comment using pip. The PyLint along with it’s dependencies will be installed.
sudo pip3 install pylint
Linting Python Code Using PyLint
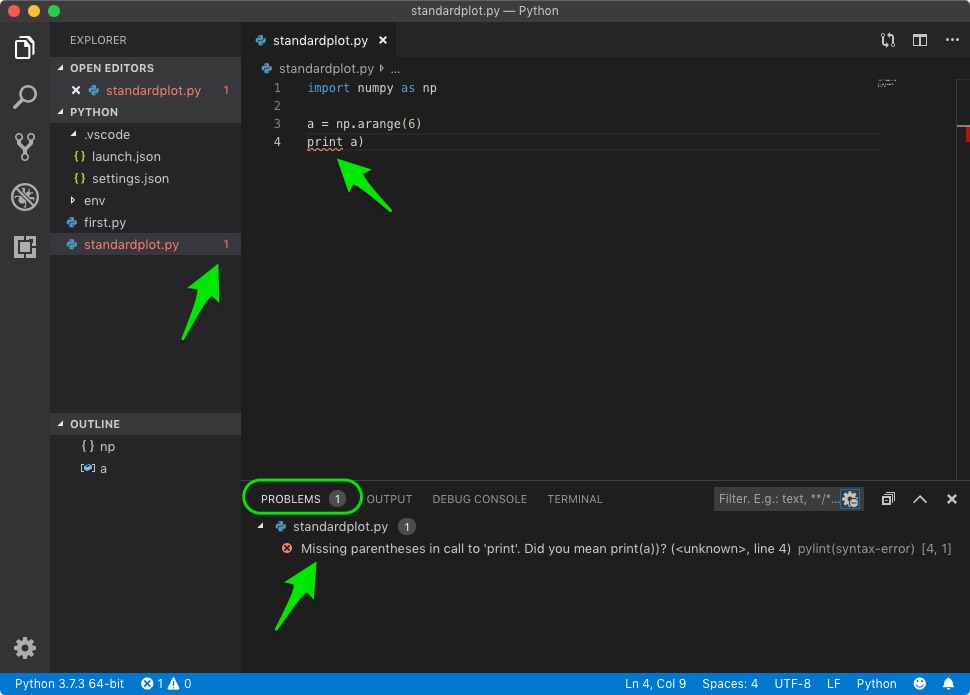
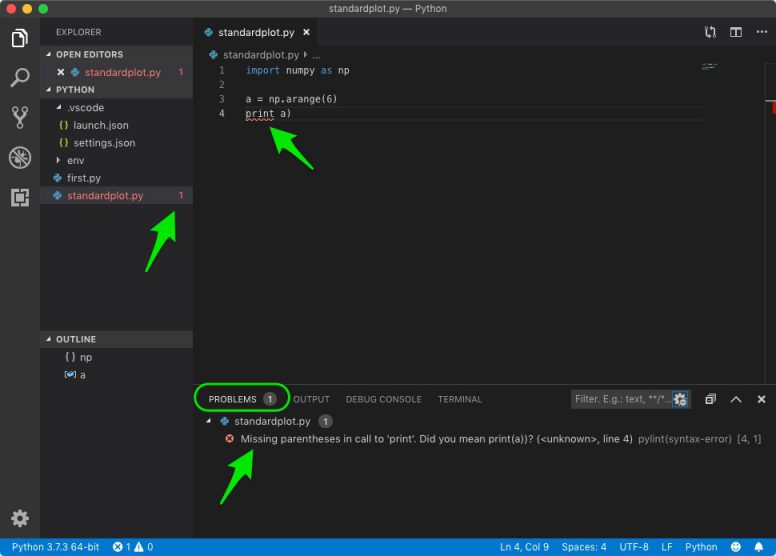
PyLint starts linting automatically when you save the source code file. Another way to start lining is to manually open Command Palette and then search and select Python: Run Linting. Once PyLint runs, it will show the errors and warnings under the Problems panel. It will also show the problem line of code with red underline. If you hover the underlined code, you can see more details about the issue.
Reference
- More about PyLint here.