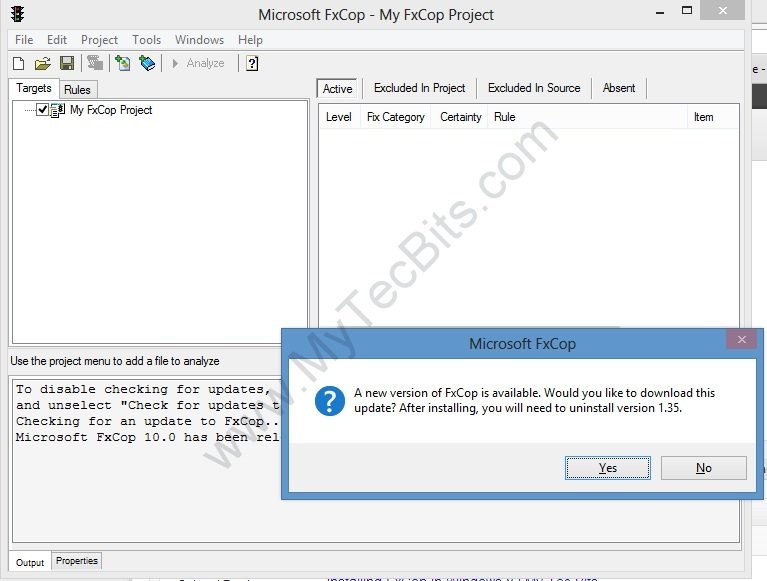
FxCop is a Microsoft tool that analyzes managed code assemblies and reports information about the assemblies, such as possible design, localization, performance, and security improvements. This tool is designed to be fully integrated into the software development cycle and is distributed as both a fully featured application that has a graphical user interface (FxCop.exe) for interactive work, and a command-line tool (FxCopCmd.exe) suited for use as part of automated build processes or integrated with Microsoft Visual Studio® .NET as an external tool.
FxCop is also integrated with Visual Studio. It can be activated from the Code Analysis project option in visual studio. So instead of using the FxCop standalone application we can directly set the project property in Visual Studio and enable the fxcop code analysis. See the other article about DotNet Code Review using Visual Studio Code Analysis.
If your version of visual studio doesn’t have Code Analysis, then integrate FxCop as an external tool in Visual studio. Below are the steps to integrate FxCop with VS.
Steps to install and integrate FxCop with Visual Studio as a standalone tool
- FxCop is available with Windows 7 SDK (http://www.microsoft.com/download/en/details.aspx?displaylang=en&id=8279)
- Download and install the SDK.
- The Setup exe can be found in the folder “C:\Program Files\Microsoft SDKs\Windows\v7.1\Bin\FXCop”
- Run the “FxCopSetup.exe” and install it.
- Shortcut for standalone fxcop can be found in the start menu.
- Now go to Visual studio.
- On the Tools menu, click External Tools, and then click Add.
- Enter the following information in External Tools dialog box (Check the folder paths and make sure they are correct for your workstation):
- Title: FxCop
- Command: C:\Program Files\Microsoft Fxcop 10.0\FxCopCmd.exe
- Arguments: /c /f:$(TargetPath) /d:$(BinDir) /r:” C:\Program Files\Microsoft Fxcop 10.0\Rules”
- Initial directory: C:\Program Files\Microsoft Fxcop 10.0
- Select “Use Output window”.
- Now to run FxCop,
- go to Tools –> FxCop analyze your code and because we checked “Use Output window” in External Tools dialog,
- result should appear in Visual Studio output window.
If you want to install this tool on Windows 8 then read the article Installing FxCop on Windows 8.

