

Nowadays, having a personal website or blog is very common. You don’t need to be a website developer or a designer for developing a website or bog. You don’t even need to have knowledge in HTML for setting up a website. You just need to use one of the open source content management system (CMS) like WordPress®,Joomla!®, DotNetNuke®, etc. As these CMS are open source, you can use them for free. Apart from CMS, you need to buy a domain name and a hosting. If you have some time to spare and around $50/Year for purchasing domain name and hosting, you can create a wonderful website or blog and maintain it for life.
In this article, I’ve explained with detailed step by step instructions on setting up a website or blog using WordPress with GoDaddy. This is a beginners guide.
Pre-Requisites
- Domain is already purchased at GoDaddy.
- Linux shared hosting is already purchased at GoDaddy.
GoDaddy Hosting Account Setup
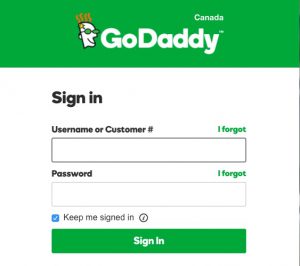
- Login to GoDaddy website using your username or customer number.
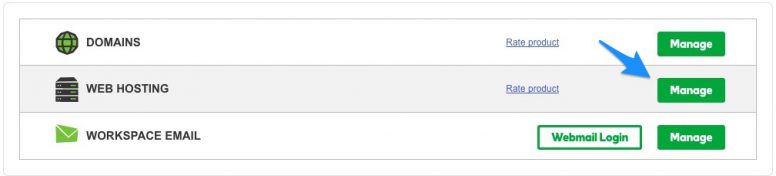
- My Products page will be displayed on logging in. Press the Manage button against WEB HOSTING.
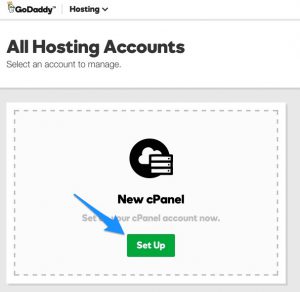
- Press Set Up, under the New cPanel box in All Hosting Accounts.
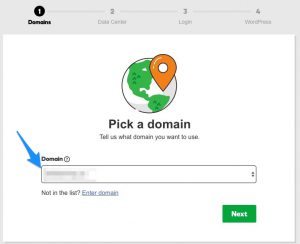
- In the Domains section of the hosting setup process, select the domain you have purchased and press Next.
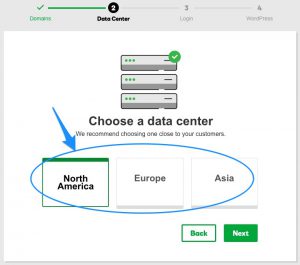
- In the Data Center section, select your preferred data center region. After selecting the region press Next button.
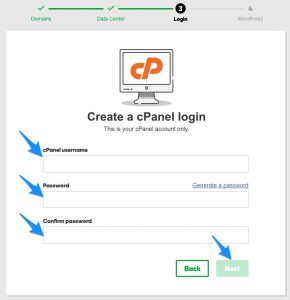
- In the Login section, enter the cPanel Login, password, confirm password and press Next.
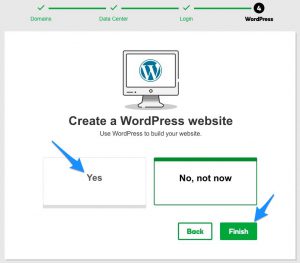
- In the last part of cPanel setup, you will be asked whether you want to create a WordPress website. Select Yes.
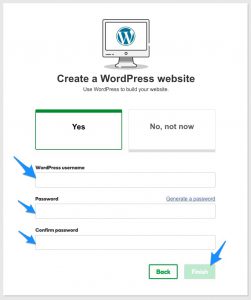
- On selecting yes, few fields will appear for entering WordPress password and user name. After entering WordPress user name and password, press Finish button. (Note down this user name and password in a paper. You will need it later.)
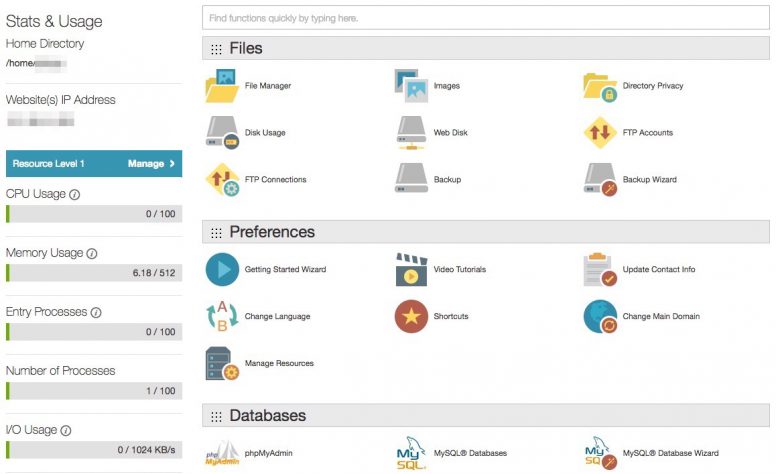
- It will take few minutes for GoDaddy to set up the cPanel Account. Ones setup, you will be presented with the cPanel dashboard.
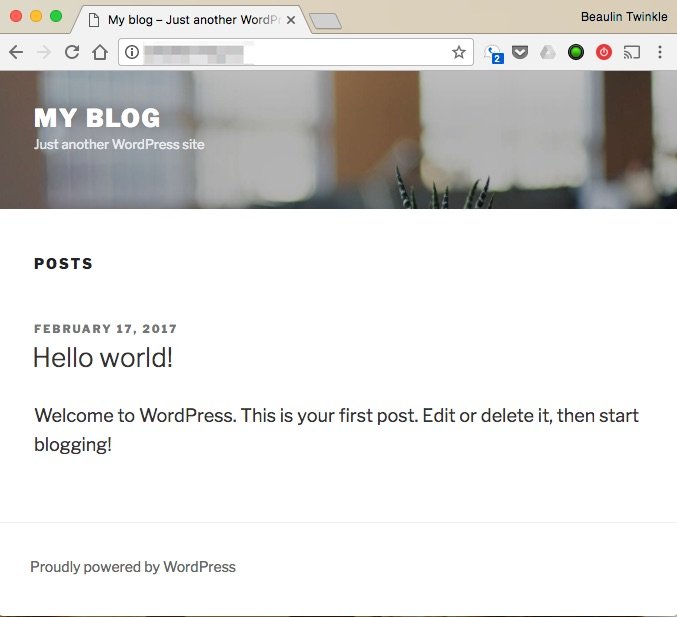
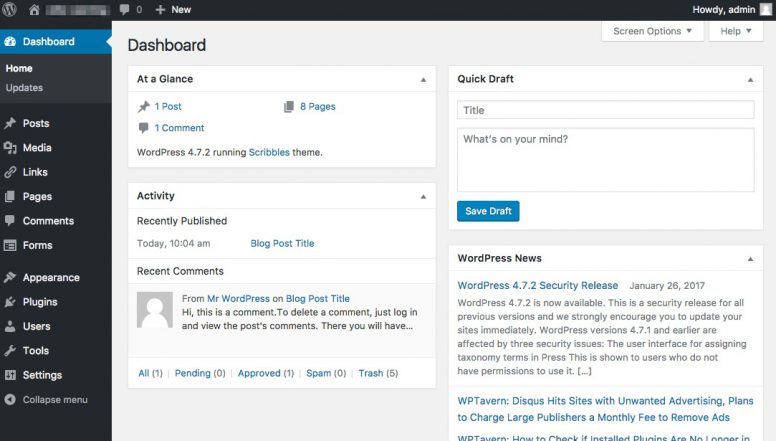
- At this stage a basic WordPress blog will be created for you. If you type in your domain in a web browser, you can see that.
Setting Up WordPress With GoDaddy Hosting
The WordPress website created during the hosting setup process will be a basic one with the default theme. You can change this default theme and other settings after logging in to the website.
To login the website
- In the browser url box type in the url http://{{Your Domain Name}}//wp-login.php ).
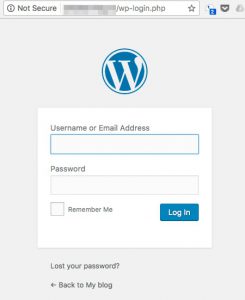
- In the login screen enter the WordPress user name and the password, which you have provided while setting up the hosting account (Step 8 in the above section ‘GoDaddy Hosting Account Setup’).
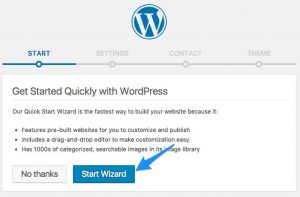
- On logging in to the website for the first time, you will be presented with the startup wizard to customize your website. Press Start Wizard.
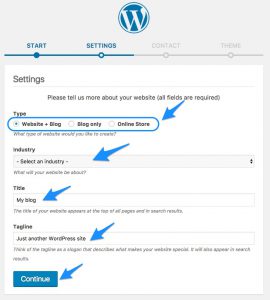
- In the Settings section, you will be asked about the details of the website or blog. Enter the proper details and press Continue.
- In the Contact section, enter your contact details for your website/blog visitors. These contact details will be publicly available in your website. If you don’t want to give these details at this stage, you can skip them by pressing the Skip button. If you prefer to give contact details, then enter them and press Continue.

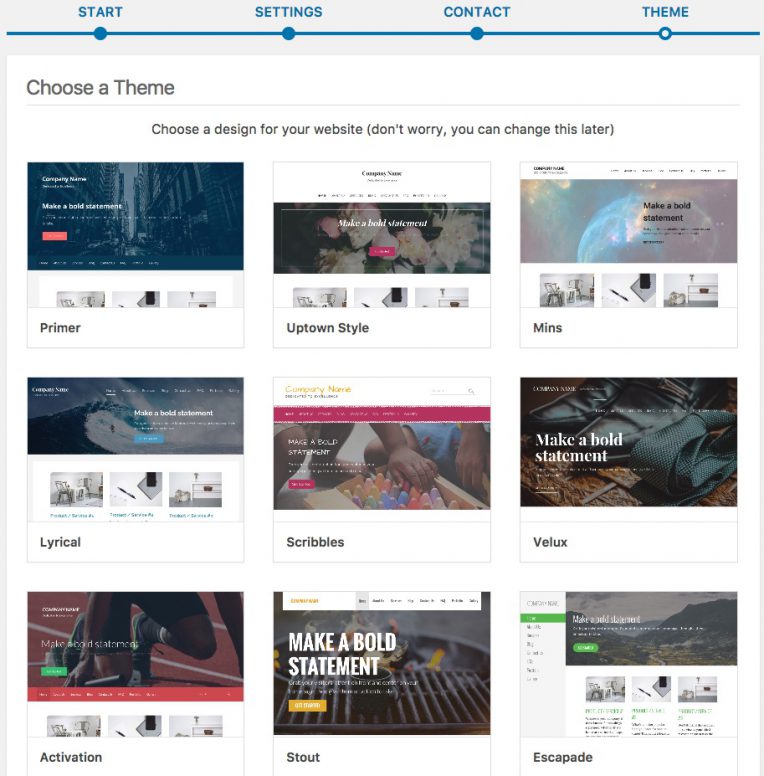
- In the Theme section, you will be given few theme options to select. Select one of the themes. You can change the theme later.
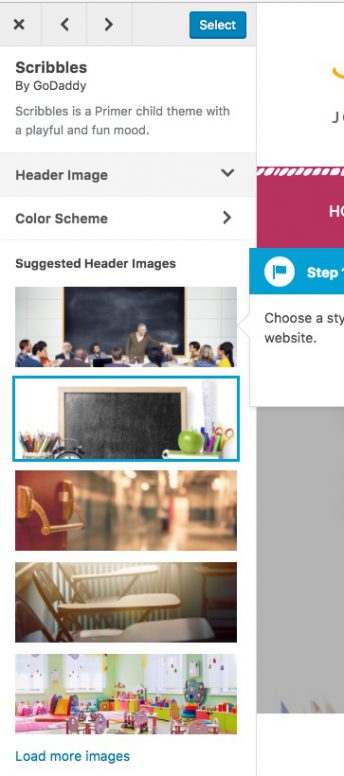
- On selecting the theme, you will be lead to the theme customization section. Here you can customize the theme to a small extent. Then press Select button at the top left.
- The system will take around 30 seconds to do the setup. Once done, you can do more customization to the theme.
- After finishing the changes, press Save & Publish button at the top left to publish the changes.
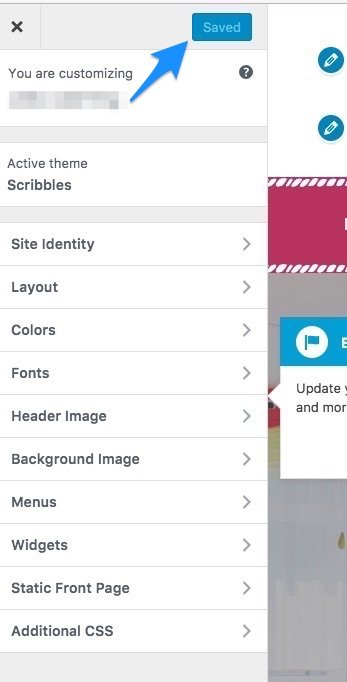
- For closing the theme customization section and to go to the WordPress dashboard, press the X icon at the top left corner. You will be taken to the WordPress dashboard. Here you can do more customization and add pages and posts to your website or blog.
NOTE: For creating posts and pages in the website and publish them, read the WordPress help manual.
Setting Up Email-ID With GoDaddy’s WorkSpace Email
Most of the domain and hosting account plans with GoDaddy comes with Email options. You can set up email ids with your domain name extension (Like: yourname@yourdomain.com).
For Setting Up Email-ID
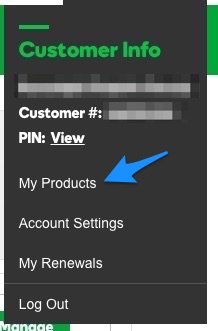
- Go to My Products page. You can go to the My products page by going to the drop down at your account name at the top right corner.
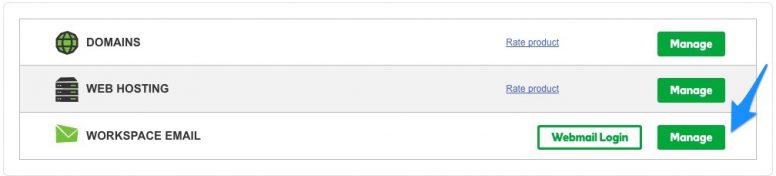
- Press the Manage button against WORKSPACE EMAIL.
- If you have any free email account available along with your domain or hosting account, you will be asked to set it now. Press the Setup now link.
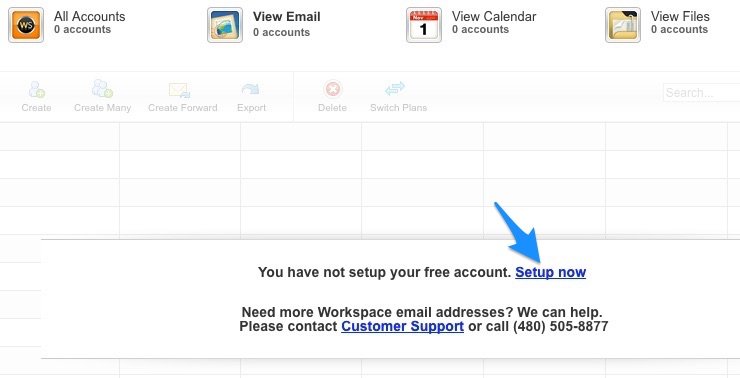
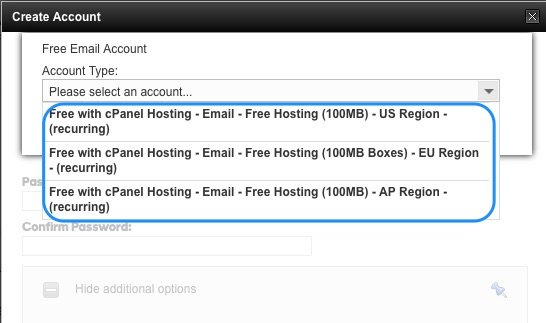
- In the Create Account screen select one of the account types. On selecting the account type, you will be asked the domain name to setup. Select the domain and press OK button.
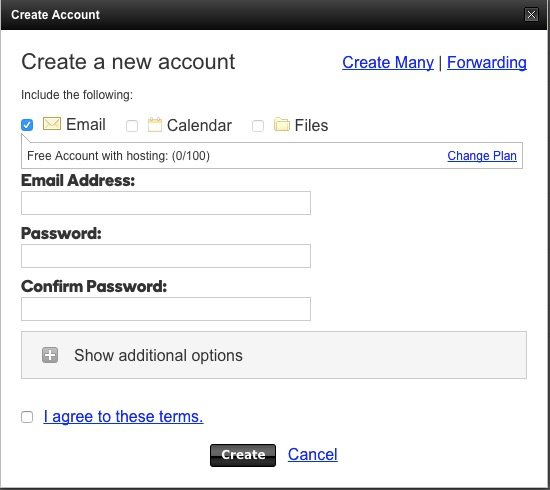
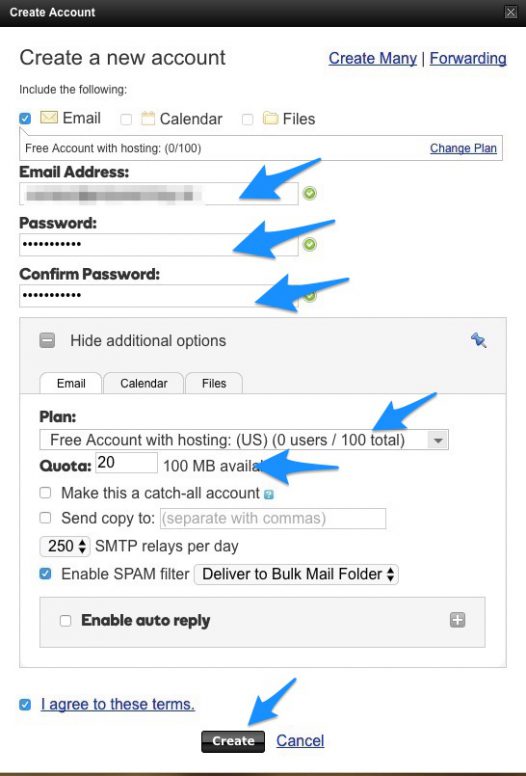
- Once the email setup is complete, you will be able to create personal email accounts along with your domain name. In the Create Account screen, enter the Email ID and password.
- On expanding the Show additional options section, you can change the default settings like the plan, quota or add another email to send a copy to. After completing the setup, press Create button.
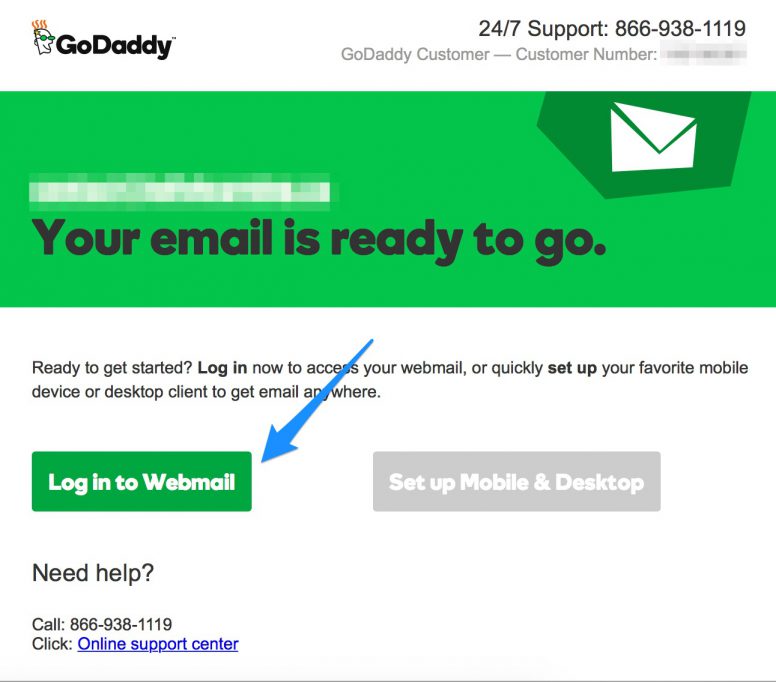
- In the next scree, you will be asked to give another alternate email address to send the details about the new email ID. By default, the email with your GoDaddy account will be selected. If needed, you can change it and enter another email id here. A welcome email with details will be sent to the alternate email.
- The welcome email is similar to this. From the welcome email you can find the link to access the email.
FTP Login
While creating the cPanel account, the system have already created a FTP account. The user name and password are same as the cPanel account (as in point 7 at the above section ‘Hosting Account Setup’). You can use ftp clients like FileZilla to connect to your web directory.
To check the default FTP account
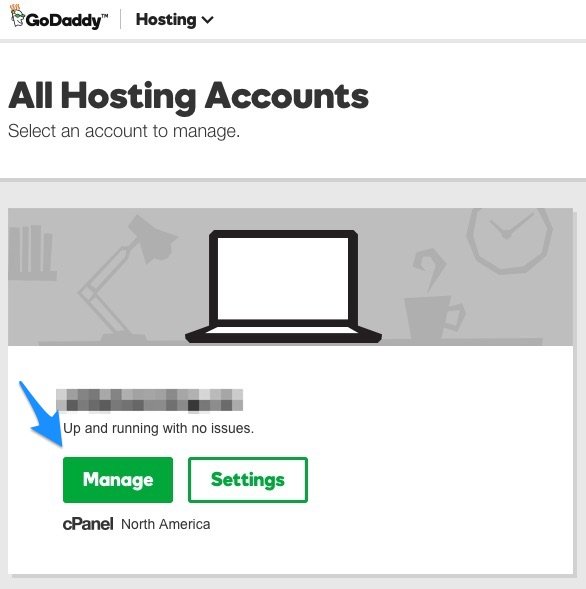
- Go to the drop down under the GoDaddy user account at top right corner >> My products >> Web Hosting >> Manage >> All Hosting Accounts >> Manage.
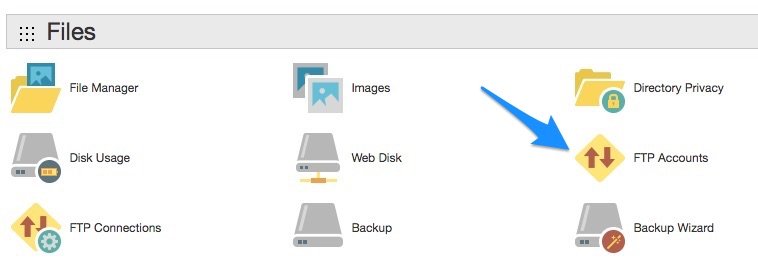
- In the cPanel dashboard >> Go to Files section >> FTP Accounts.
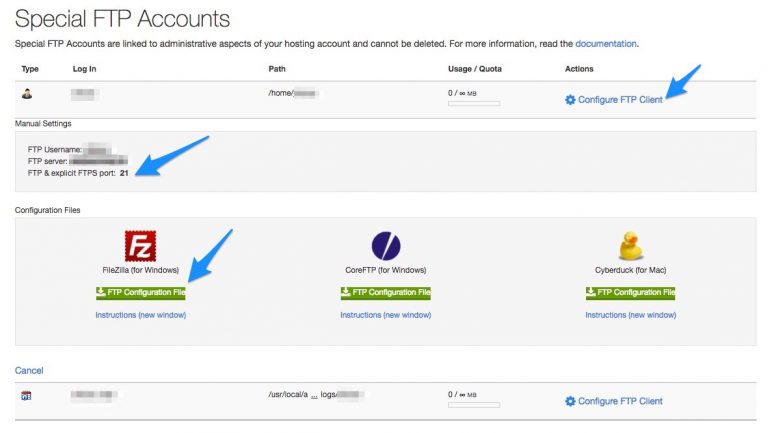
- In the FTP Accounts screen, scroll down to the bottom to the Special FTP Accounts Section.

- Press the Configure FTP Client to get details on how to configure the ftp client.
Reference
Web development reference for beginners here...