
FxCop is available ready to be installed in Windows 8 with Windows SDK version 6.0A. Below are the steps for FxCop installation. If you want to know more about this tool and performing code analysis, read the articles this and this.
Steps for FxCop installation on Windows 8:
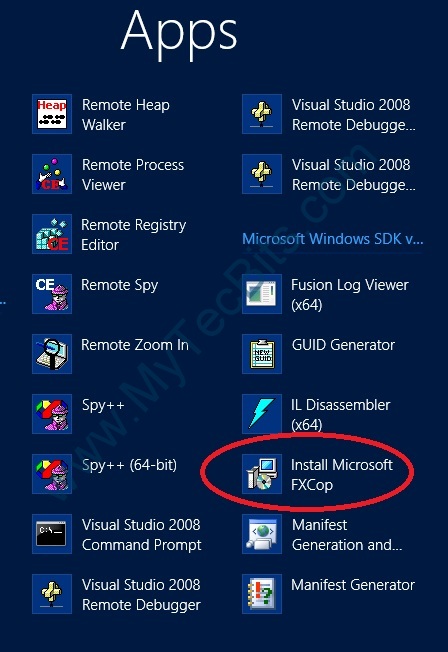
- Go to start screen.
- Type in fxcop.
- In the search results you can see the Install Microsoft FxCop. Chick it. The other option is to got to All Apps screen and look for the shortcut icons under Microsoft Windows SDK.
- It will launch the Install setup screen.
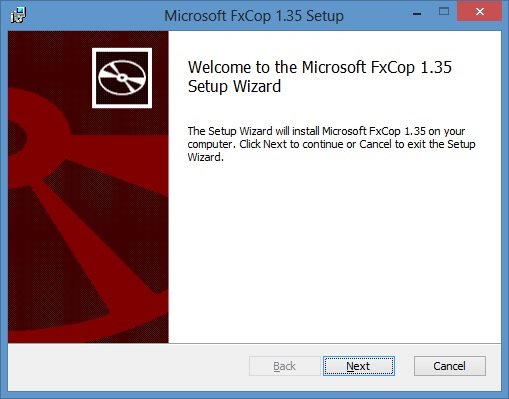
- Follow the actions and install the application.
- Version 1.35 is now installed to your computer.
- Now go to start screen and type in fxcop.

- You can see 3 results for the search.
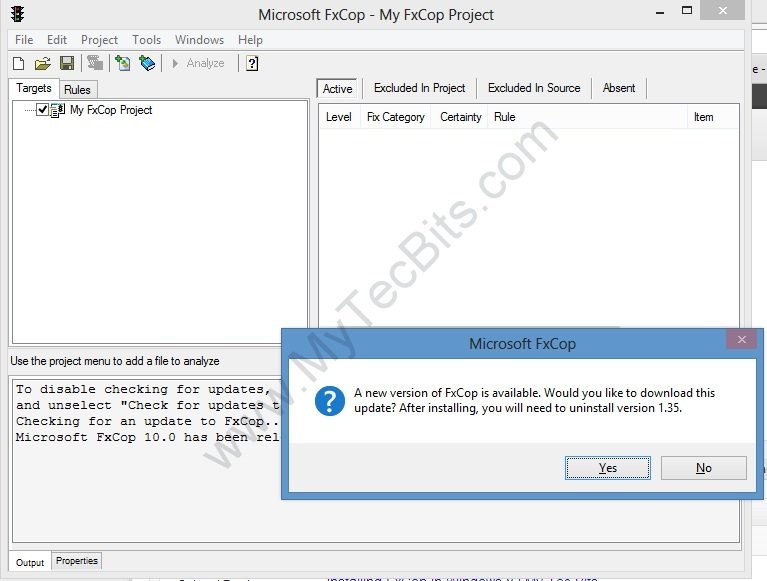
- Click Microsoft FxCop1.35.
- The application will launch along with a message. If you want to install the new version, then click Yes and continue. Otherwise click No and start using the tool.
The below Articles will have more details about FxCop and Code Analysis
- DonNet Code Review using FxCop – Read….
- DonNet Code Review using VIsual Studio Code Analysis – Read….
Or you can download it on CodePlex: https:// fxcopinstaller.codeplex.com