
I’m planing to create a DotNetNuke (DNN) module for one of my website which uses DNN as the content management system (cms). The first step for developing modules in DNN is to set up a development environment.
I would like to share the steps I’ve followed to set up the DNN development environment in this article.
Software and Tools used:
- Windows 7.
- IIS 7.5.
- .Net Framework 4.0 or higher.
- Visual Studio 2012 express for web (You can use the other editions of 2012 or 2010 or 2008).
- SQL Server 2012 Express (DNN is not recommending to use express edition. But I don’t have a standard or development version. So I’m using the express edition. You can use SQL server 2005 or 2010 as well).
- DNN 7 or higher (I’ve used DNN 7.2.2).
Steps to setup the DNN module development environment:
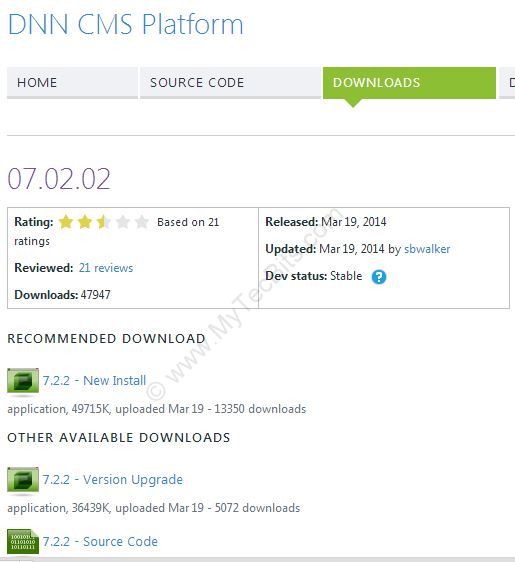
- To do a fresh setup use the use the installation package. The DNN installation package is available in codeplex website at https://dotnetnuke.codeplex.com/releases/.
- From the available packages, select the New Install Package. I’ve downloaded version 7.2.2.
- Unzip the install package and copy the content to another folder names DnnDev.Me (like c:\dnndev.me\). There is a reason for using dnndev.me as folder name. DNN corporation has registered the domain dnndev.me. This domain is also pointing to the look back IP of 127.0.0.1. So we can ignore the extra settings like adding entries in host file, as this domain always points locally.
- Now go to IIS.
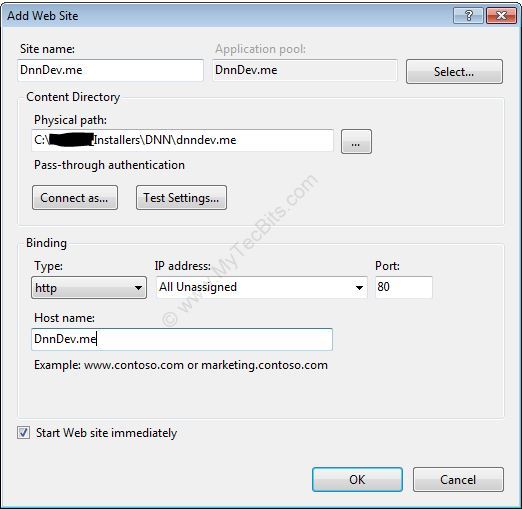
- Right click Sites and select Add Web Site.
- In the Add Web Site Screen, Enter the Site Name as dnndev.me.
- In the Physical Path field, select the folder dnndev.me where you have extracted the DNN install package.
- In The Host Name field, enter DnnDev.me and Save.
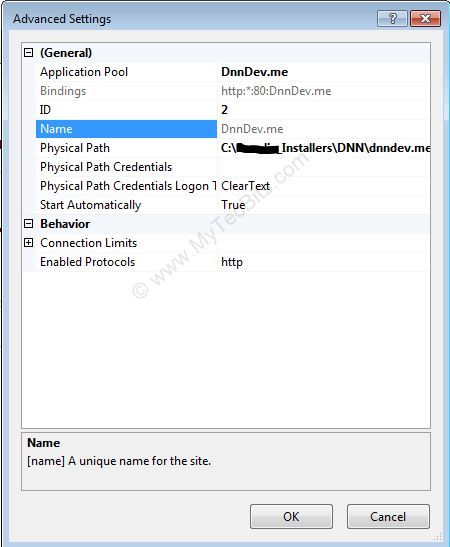
- Right click the newly created DnnDev.me web site in IIS and select Managed Web Sites and then Advanced Settings. Note the App Pool Name. As I’m using windows 7 and IIS 7.5, by default the application pool will be created with the same name as the website name (DnnDev.me).
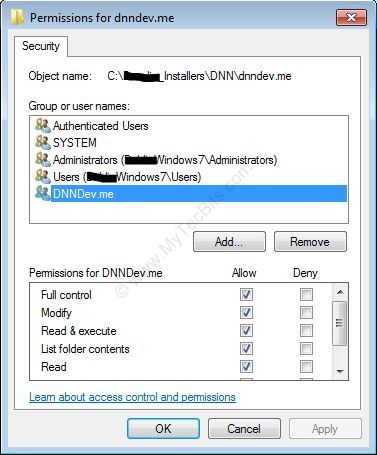
- Go to the physical folder of the website (example c:\dnndev.me\), right-click and select properties.
- In the properties window go to the security tab. Here you have to add the application pool’s account with full permission. In our case it’s “IIS AppPool\DnnDev.me“.
- Now we have to set up the database. Go to the SQL Server and create a new database. I’ve created a database called DnnDev.me.
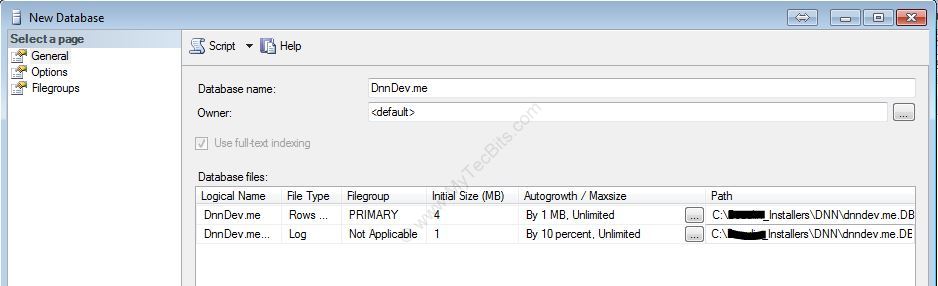
- Create a user for the database. I’ve used the name dnndev for the login with SQL Server Authentication.
- Make sure that you are able to login to the SQL Server management studio using the new login.
- Now we have come to the last part of the installation. Open the browser and launch the website dnndev.me. The DNN installation wizard will appear after 30 seconds to 1 minute.
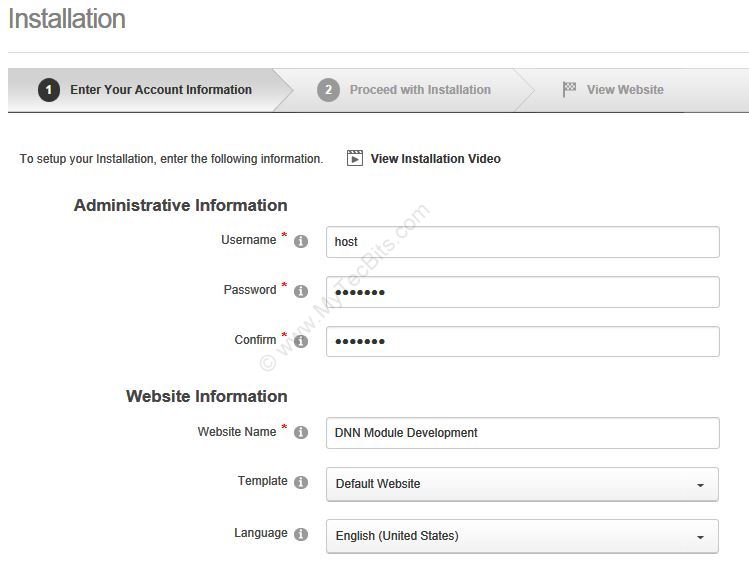
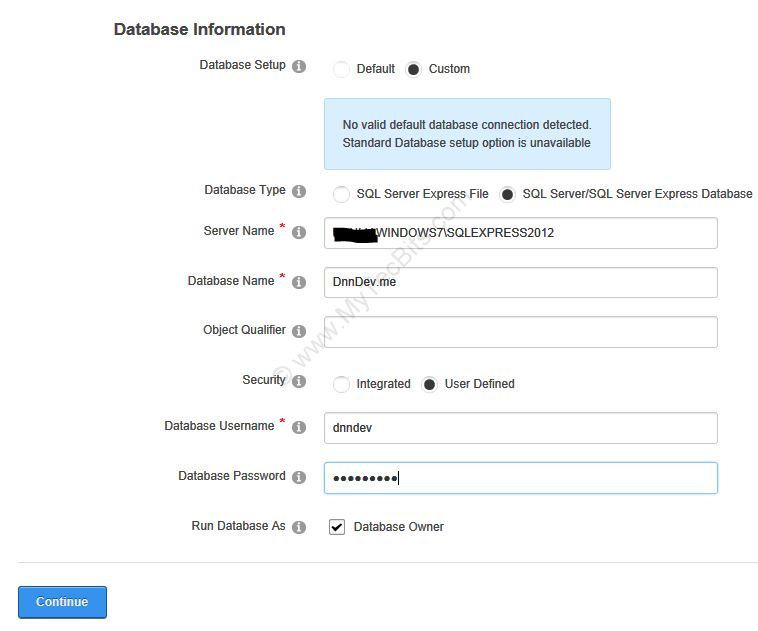
- In the Account Information Page, enter the dnn website administrative login details (This is the host login), Name of the website and add the database information. Then click continue.
- The Installation process starts. This process will take a couple of minutes to complete.
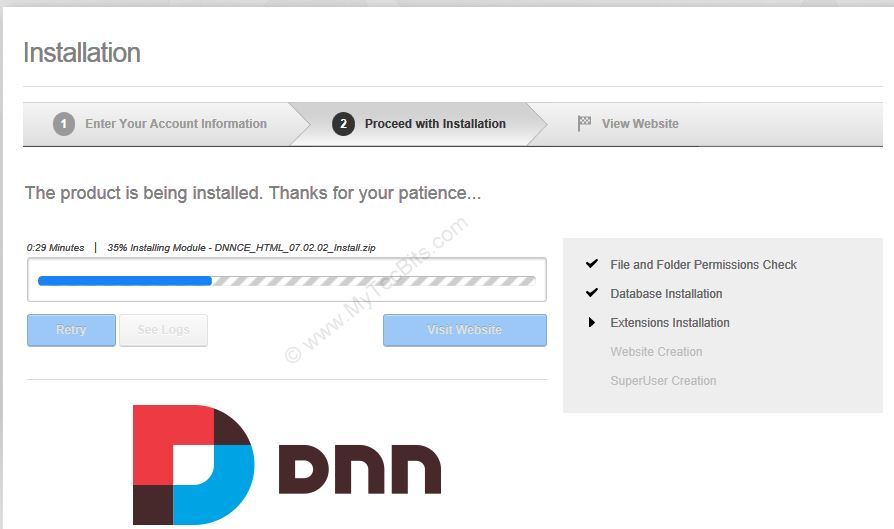
- Once the installation is complete, you can click the View Website to load the fresh installed DNN website.
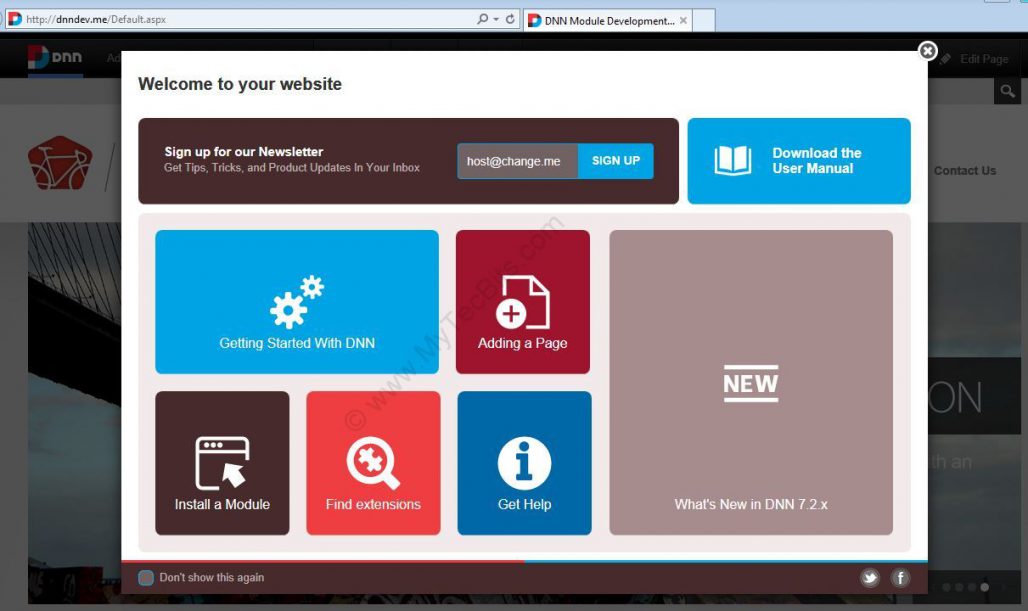
- You login to the website using the host login you have entered in Wizard’s Account Information Page.
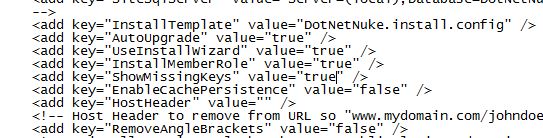
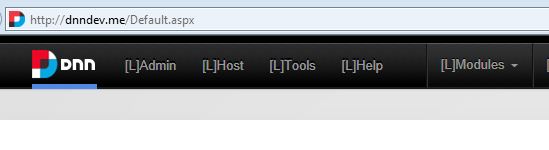
- If you are planning to develop a module with language localization, then there is one more step to do. Open the web config file and search for ShowMissingKeys flag. Change the value from false to true. Now the localized texts will be displayed with a L in front of them.
The DNN module development environment is now ready in your development workstation. The next step will be setting the Visual Studio Project Template For DNN.
Related Articles
- Upgrading DNN website from version 6 to 7.
Reference
- https://www.dnnsoftware.com/wiki/setting-up-your-module-development-environment
I cannot get to . For me it takes to